Setting up Scalr & Azure DevOps Part 3 - Add Azure credentials
Learn how to authenticate with Microsoft Azure using Scalr provider credentials. Part 3.

- Authenticating Scalr with Microsoft Azure requires creating an Azure Active Directory app registration, generating a client secret, and assigning it a subscription role such as contributor.
- Provider credentials are stored encrypted in a central Scalr location and can be shared across workspaces and environments, then passed to runs as shell variables.
- After adding the app registration details to Scalr, you link the provider credentials to the required environments via the environment's Provider Credentials tab.
- Storing credentials centrally lets a team restrict who can access them while new workspaces automatically inherit them.
This was written by Jack Roper, a guest blogger.
Getting Scalr working with Azure DevOps takes three stages. This series of three posts walks through each one step by step.
This is the second post in the series that will focus on stage 2: how to add Azure credentials and link them to an environment.
If you missed the first post in the series, check it out here (picking a workflow).
Post 3 covers how to execute your Terraform code and create a workspace, both with PR automation and by plugging the CLI into Azure DevOps. There is a third way to create a workspace using the module registry, but that still relies on the VCS connection.
How Does Scalr Store and Share Provider Credentials?
To authenticate with our cloud provider (Microsoft Azure), we need to give Scalr some credentials. Scalr keeps credentials in one central spot so you can share them across workspaces. You can share them across environments too, and with provider configurations you can set up several configurations of the same provider type inside one environment. The credentials are encrypted and stored securely, and they're passed to every workspace in the environment as shell variables. That way the team can control who gets access, and new workspaces pick them up automatically.
This post also covers how to create those credentials in Azure as an Azure Active Directory app registration and assign it an appropriate role.
We will be using Terraform with Scalr to deploy infrastructure to Azure. In the third and final post, we will show how, when a Terraform run is executed within a workspace, the provider credentials are passed to the run automatically as a shell variable.
How Do You Add Azure Credentials to Scalr?
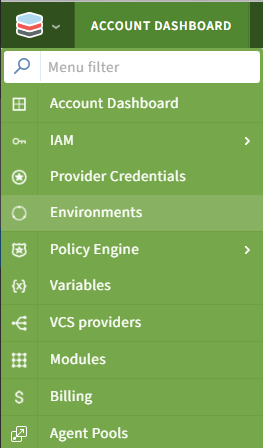
- Log into Scalr and hit the icon top left. Select 'Manage Account' in the drop-down menu.
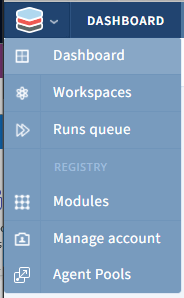
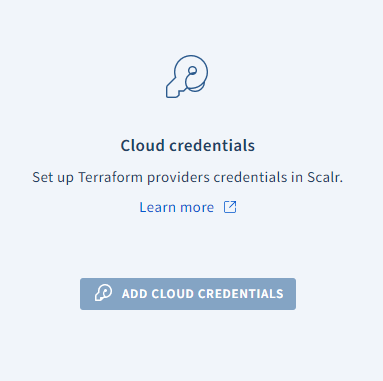
- If this is the first set of credentials you will be adding, you will be presented with the 'getting started' screen, and the 'add cloud credentials' button.
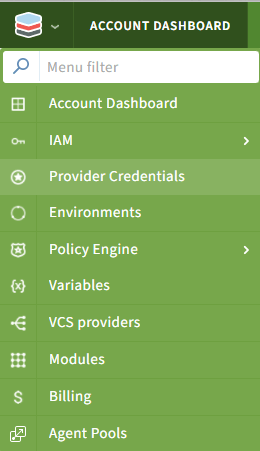
Alternatively, if you already have credentials added, hit the icon top left again, and select 'provider credentials' from the drop-down.
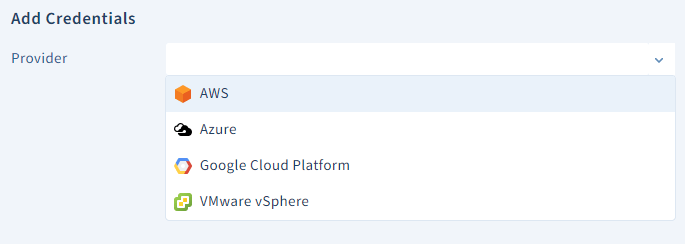
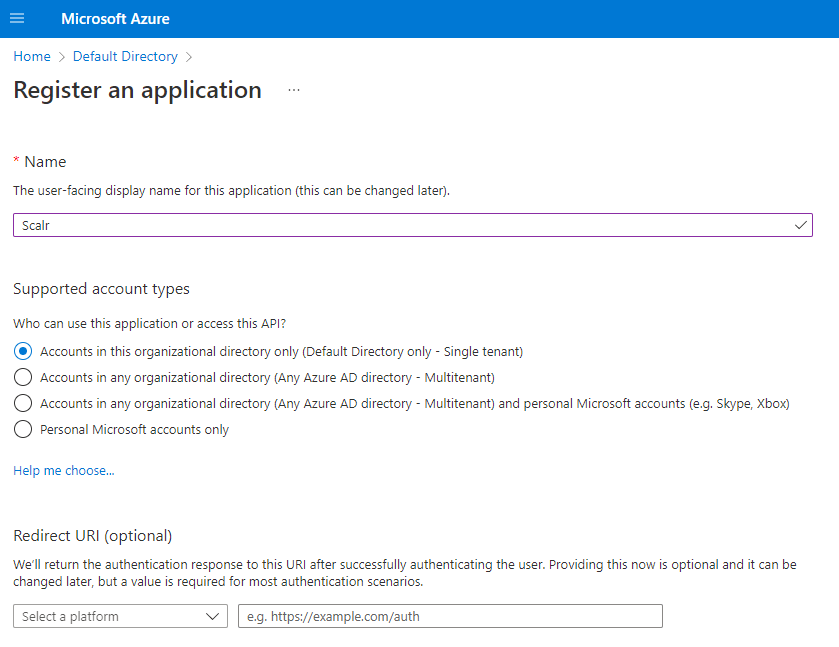
- Choose 'add credentials' then choose the Azure provider from the drop-down menu. Note that if you want to use a provider that does not have an option in Scalr, you can use the shell variable option to achieve similar functionality.

- At this point jump over to the Azure portal and log in to your account. Click on Azure Active Directory → App Registrations.
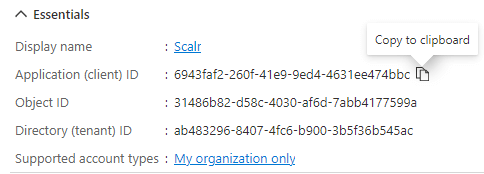
Press register. On the next screen copy the details shown in the essentials section.
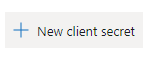
Next click on secrets -> new client secret
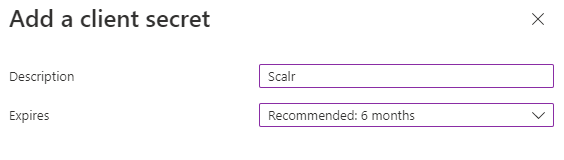
Enter the description and the expiry date.
Press add, then copy the secret value. You will only be able to see this once.
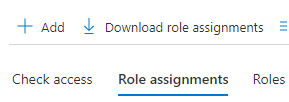
Next, we need to give the app registration permission to the Azure Subscription we want to use with Scalr. Browse to your subscription, and click on Access Control (IAM).

Click role assignments, then add -> add role assignment.
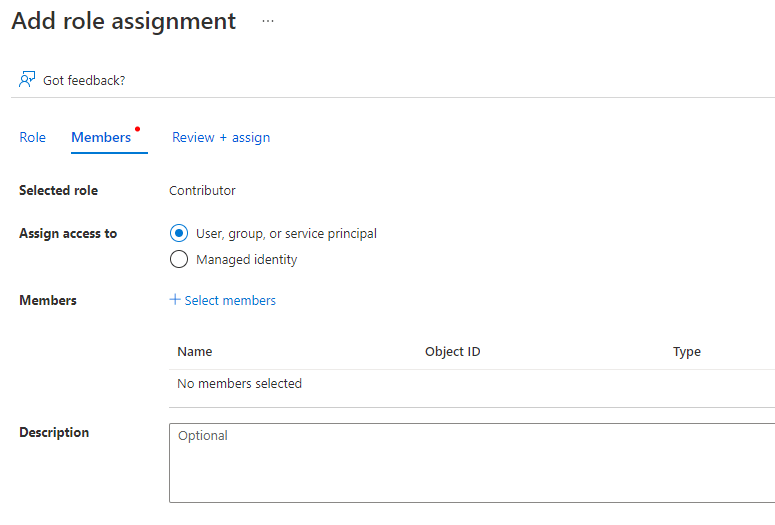
Here I choose contributor (has full access to the subscription but cannot change permissions) then hit next.
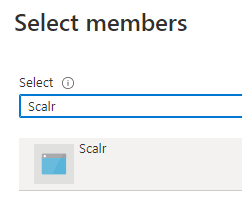
Choose 'Select members and in the search bar type the name of the app registration you set up earlier.
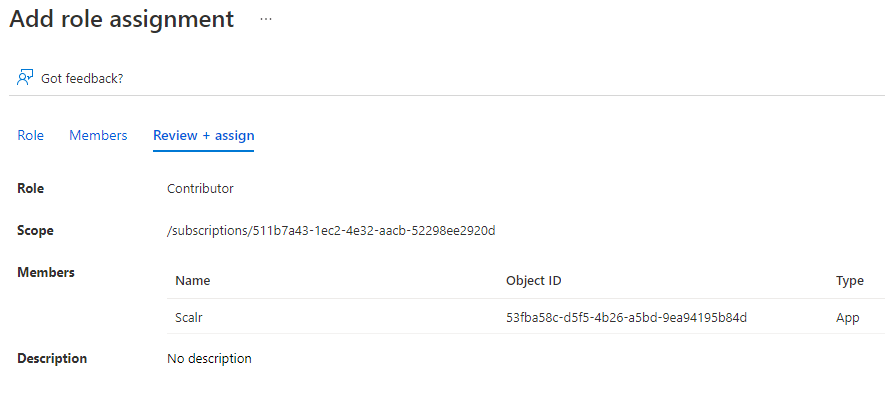
Press select, then review & assign.
- Back in Scalr, add the details you copied from the app registration:
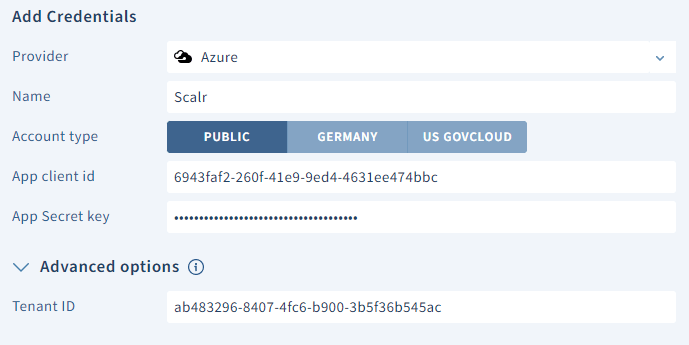
Press save. If the connection is successful, your subscription will show in the drop-down subscription menu. Select it and press Save.
- Link the provider credentials to the required environments by clicking on the Scalr icon top left, then environments.
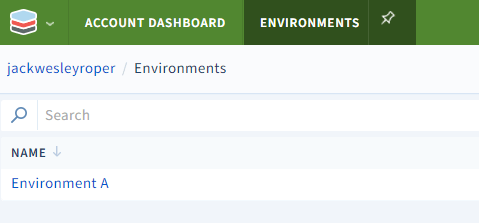
Select the environment, and then the Provider Credentials tab.
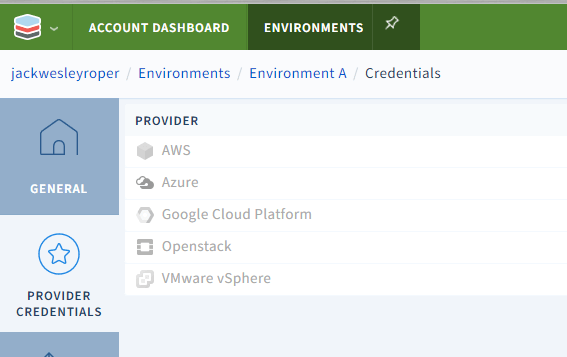
Across from the Azure provider, hit Link, then select the tickbox next to the provider credential we created earlier.


Lastly, press save!
What Did This Post Cover?
In this post, we have shown how to create an App Registration in Azure, assign it a role in the subscription, and successfully add it to Scalr as a provider credential. We then linked the provider credential to the Scalr environment.
In the previous post, we linked Scalr to our Azure DevOps VCS provider.
In the next post, we will execute some Terraform code to deploy infrastructure to Azure!
Cheers! 🍻

CI/CD and GitOps for Terraform & OpenTofu
Comprehensive guide to building reliable CI/CD pipelines and implementing GitOps workflows for Terraform and OpenTofu infrastructure automation.